Introduction
Welcome to Laravel Atlas! This guide helps you deploy Laravel apps using Railway, with a focus on environment setup and deployment best practices.
- Clean up your project and commit changes.
- Push your code to GitHub (see next section).
- Deploy and configure your app on Railway.
My Deployment Journey & Tips
Making deployment work required special attention to linking the database and the app. Here are some key lessons and tips from my experience:
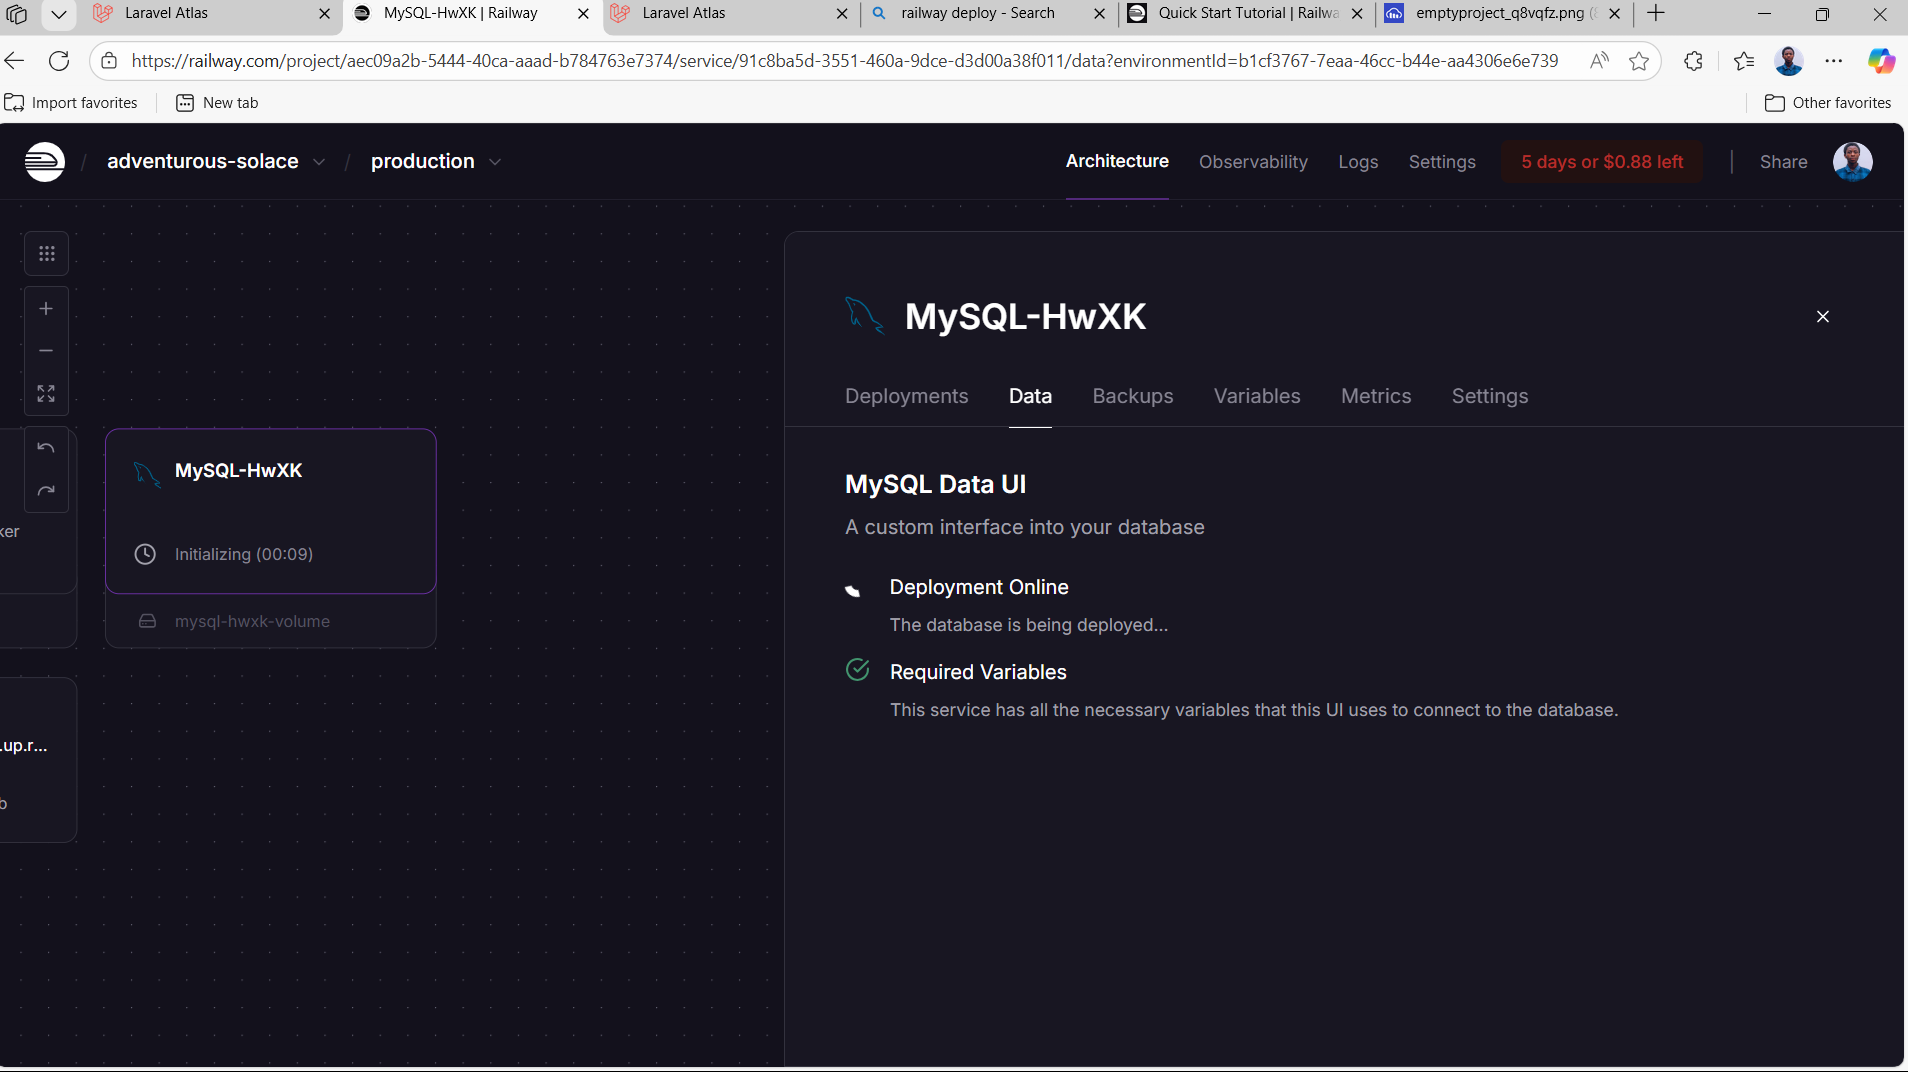
- Database First: You must set up your database (e.g., MySQL) before deploying your Laravel app. Railway will deploy your databases using Docker. If Docker status is down, you can build your Docker file and publish it from GitHub directly to your page.
- No Need for
composer run devin Production: Railway handles asset building and deployment for you. Runningcomposer run devis not recommended in production. - Project Expiry: When you deploy, you may see a prompt that your project expires in 24 hours. Claim it by signing in with your GitHub account.
- Debugging 500 Errors: If your project shows a 500 error, set
APP_DEBUG="true"in your environment variables to see the issue. After fixing, always setAPP_DEBUGback tofalsefor security reasons. - Fast & Easy Deployments: Deployment with this platform is much faster and easier—thanks to Railway!
Enjoy shipping your Laravel apps with confidence!
Pushing to GitHub
- Create a new repository on GitHub.
- Initialize git and add your remote:
git init
git remote add main https://github.com/your-username/Laravel-Atlas.git
- Add, commit, and push your code:
git add .
git commit -m "first commit"
git push --set-upstream main master
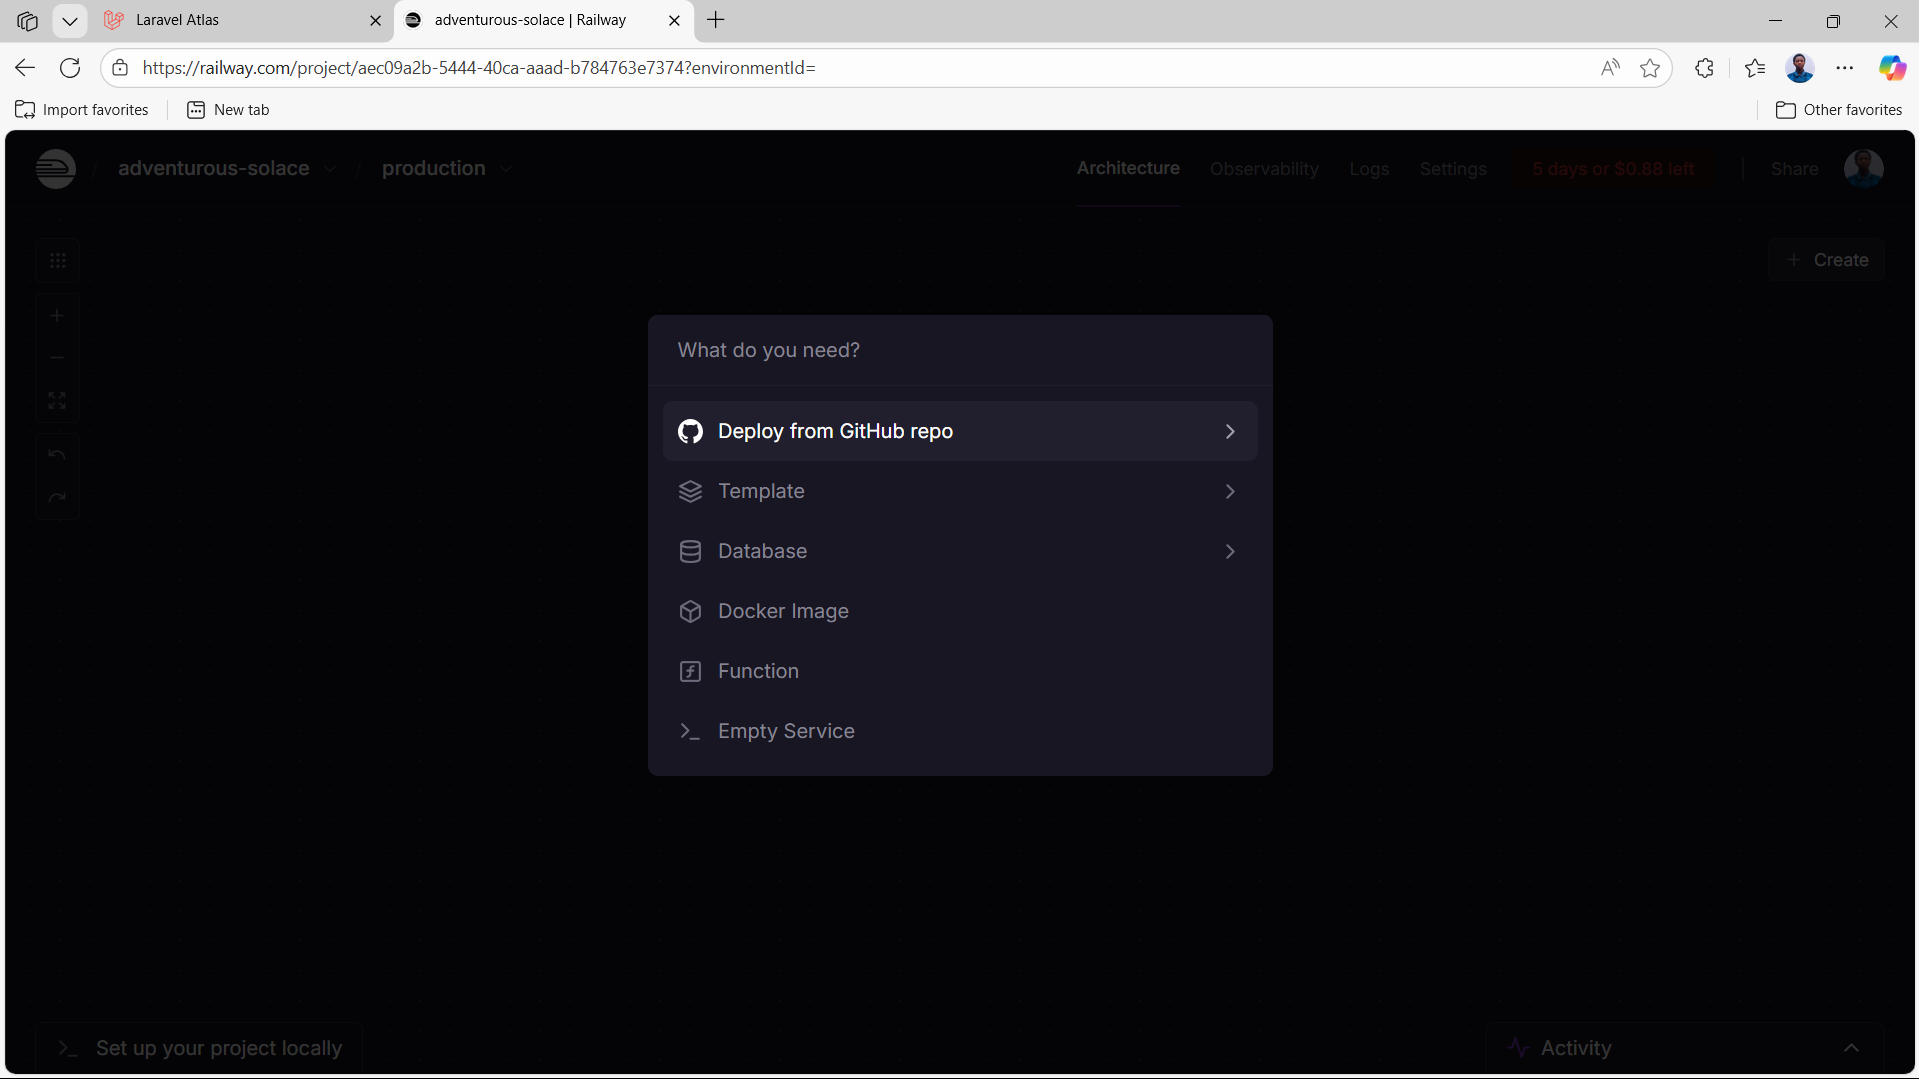
Deploying to Railway
- First, set up your database (e.g., MySQL) in Railway. This is required before deploying your Laravel app.
- Click Deploy in Railway to start the deployment process.
- Sign in with GitHub to claim your project if prompted.
- Deploy your Laravel app from GitHub.
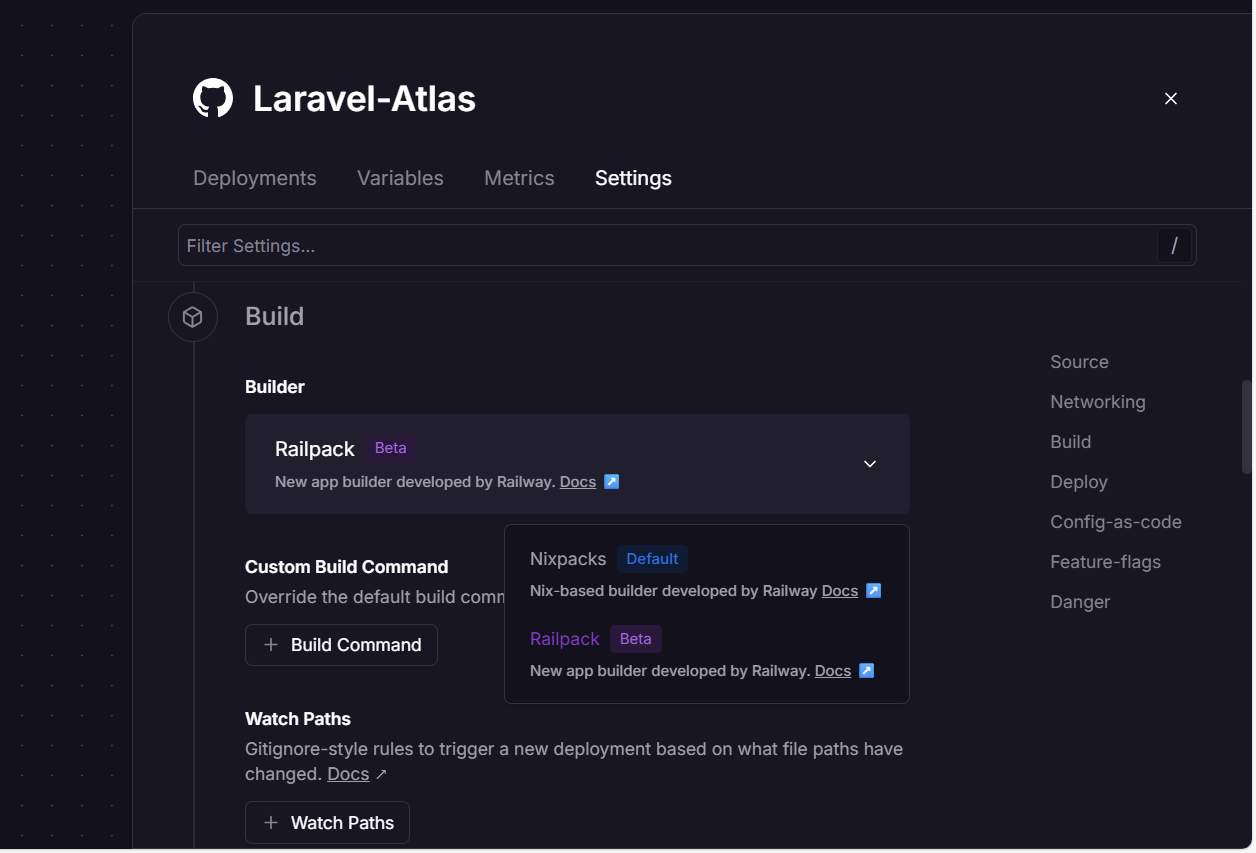
- Railway will auto-detect your Laravel app and set up build/start commands.
- Optionally, add custom migrations or seeding commands as needed.
Environment Setup
After deployment, set up your environment variables in Railway:
- Go to your Railway service, click Variables, and use the raw editor.
- Copy your
.envfile contents and paste them in the editor. - Update variables as needed. Example:
APP_NAME="Laravel-Atlas"
APP_ENV="production"
APP_KEY="your key" # must be present
APP_DEBUG="false" # set to true for debugging
APP_URL="https://your-app.up.railway.app/"
DB_CONNECTION="mysql"
DB_HOST="mysql.railway.internal"
DB_PORT="3306"
DB_DATABASE="railway"
DB_USERNAME="root"
DB_PASSWORD="your_db_password"
SESSION_DRIVER="database"
# ...other variables
Database Variables
Ensure these variables match between your Laravel project and Railway database:
| Laravel .env | Railway DB |
|---|---|
| DB_CONNECTION | mysql |
| DB_HOST | mysql.railway.internal |
| DB_PORT | 3306 |
| DB_DATABASE | railway |
| DB_USERNAME | root |
| DB_PASSWORD | MYSQL_ROOT_PASSWORD |
| SESSION_DRIVER | database |
Finishing Up
- Open your generated domain (e.g., your-app.up.railway.app).
- Your Laravel app should be running!